A Chemical Explanation of Plastisol Screen Printing Ink: Understanding Plastisol Ink Prep, Flashing and Curing for Better Screen Prints
Plastisol ink is the most popular screen printing ink for garment decoration. It is easy to print with and can be printed through any mesh count. You can achieve vibrant spot color and beautiful halftones with plastisol. Secondly, plastisol ink is easily modified. While printing on cotton shirts can be done with ink right out of the bucket, heat sensitive fabrics require ink modifications. Adjusting plastisol for printing on polyester, nylon or polypropylene bags is as easy as mixing in an additive into the ink. Finally, plastisol ink works in all shop conditions. You do not need to worry about humidity levels, keeping your screens flooded or even ruining a screen if you stop printing for a day. While plastisol ink is versatile and can handle some rough treatment, understanding the chemistry behind it makes it even easier to achieve the prints you want.
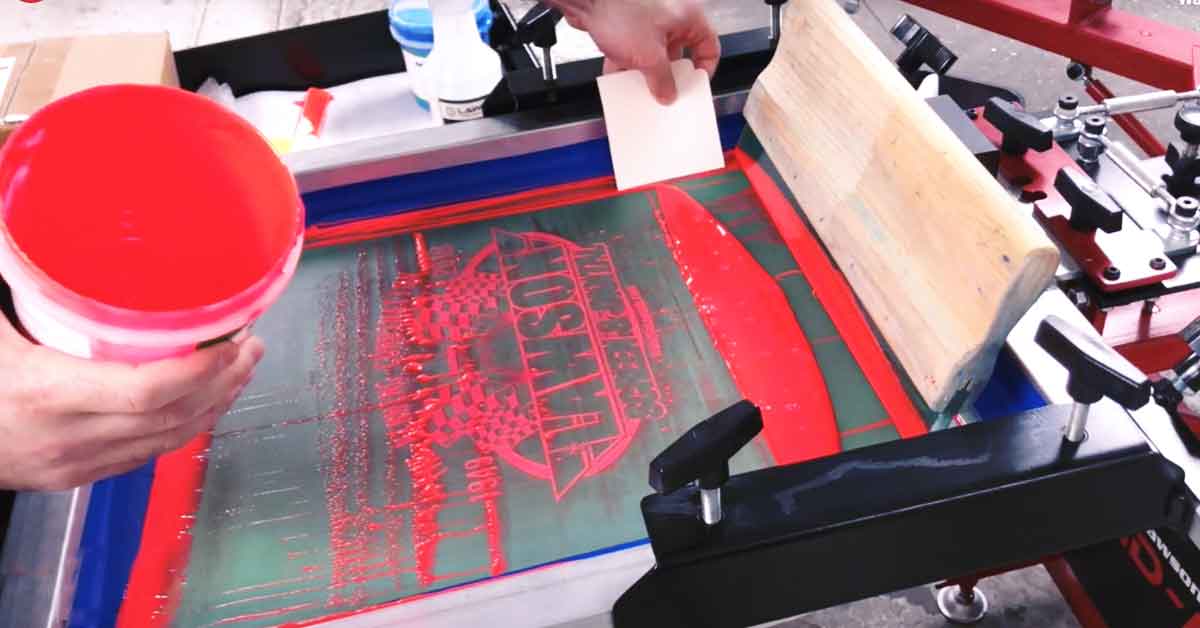
The two main ingredients in plastisol inks are resin and plasticizer. When combined during manufacturing, a chemical reaction occurs wherein the liquid turns the surface into a tacky consistency. This part liquid, part solid solution is what a screen printer experiences when first opening a bucket of plastisol ink. Different printers talk about creaminess and the “flow” of an ink. The best practice is to always prepare your plastisol ink prior to printing.
The next chemical reaction for plastisol ink requires heat. For those who pre-heat their platens for a job that requires cure flashing, as the ink moves through the screen and onto your t-shirt, it will liquify for the briefest of moments before returning to a solid. As it rotates around your manual or automatic printing press and goes under your flash cure unit, it becomes a gel. This is somewhere between a viscous liquid and fused (totally dry) state. Experienced printers will understand this by how they check their flashing temperature and time: touching the ink to see if any comes off on their fingertip. If not, not only have you properly set your flash, but your plastisol ink is gelled.
Finally, your conveyor dryer’s heat tunnel is the last part of the plastisol inks chemical reaction journey. The remaining liquid absorbs into the plastisol particles. This part of the process occurs as heat is applied. The speed plastisol ink curing depends on the material from which the garment is made, how thick the ink deposit is, and the color of the ink. Understanding these different stages will help you produce a better screen printed t-shirt.